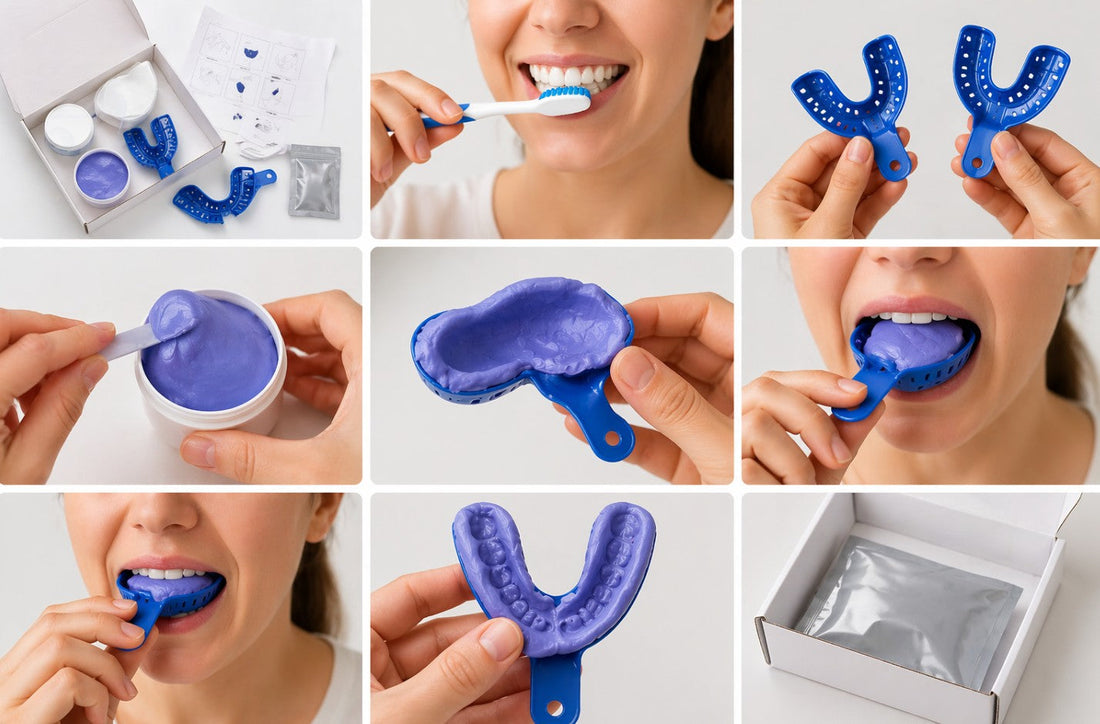
How to use a teeth impression kit at home
Brush your teeth, pick the tray that fits, load it with putty, press it into place, check the mold, and mail it back. That is the whole process, and most people finish it in under fifteen minutes.
Every custom appliance we build, snap-on veneers, flippers, partial dentures or an Essix retainer, starts with this one mold. Get it right and the fit that comes back matches your mouth.
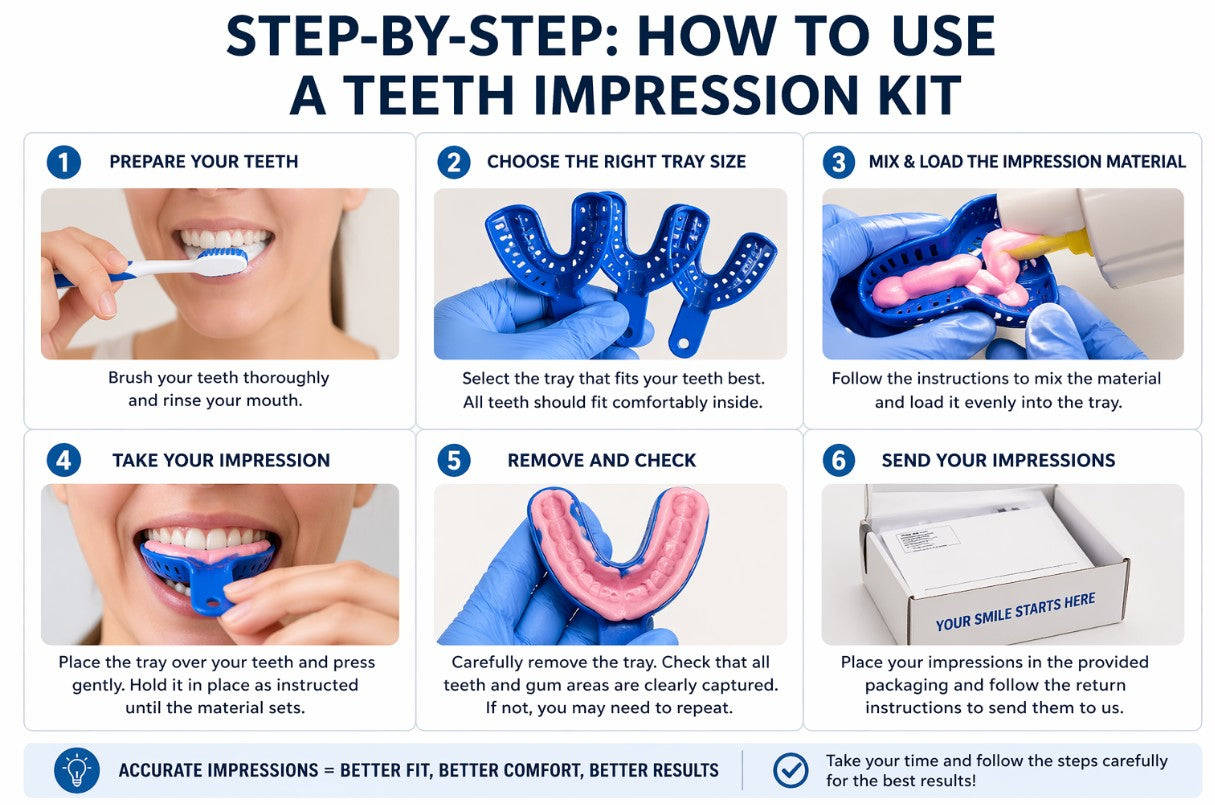
Take your impressions at home
 Brush and rinseClean teeth give a sharper mold and a better final fit.
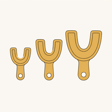 Pick the tray sizeTry each tray dry. It should cover every tooth without pressing.
 Load the puttyMix until the color is even, then spread it across the whole tray.
 Seat the trayPress gently over your teeth and hold still while the putty sets.
 Check the moldEvery tooth outline and the gum line must be clear, with no bubbles.
 Mail it backUse the prepaid label in the box and we start making your appliance.
Do not take impressions with loose teeth, bleeding gums or untreated cavities. See a dentist first.
Why the tray size matters more than anything else
Each kit ships with a few tray sizes so you can try them dry before mixing anything. The right one covers every tooth without pinching your cheeks or feeling loose against your gums. Rushing this step is the single most common reason an impression has to be retaken.
What we do with your impression once it arrives
A technician checks that every tooth edge and the gum line came through clearly, with no gaps or bubbles. If it passes, your appliance goes into production. If it needs a retake, we ship a new kit at no charge, no questions asked.
From there, the same impression can be used for a snap-on veneer, a flexible flipper or a flexible partial denture, depending on what your order calls for.
When to hold off
Skip the impression if you have bleeding gums, gum disease, loose teeth, loose crowns or fillings, or a cavity that has not been treated. See a dentist first, then come back to the kit once your mouth is healthy again.
Questions people actually ask
Can I take teeth impressions at home without a dentist
Yes. Our impression kit ships with trays, putty and instructions built for a kitchen table, not a dental chair. Follow the six steps and mail the tray back in the prepaid package.
What happens after I mail my impressions back
Lab technicians check every impression for clear tooth outlines and a clean gum line. We approve it and start building your appliance, or ship you a fresh kit at no charge if something needs a retake.
What can go wrong with an at-home impression
The wrong tray size, moving the tray while the putty sets, and not using enough material are the most common mistakes. Take your time on the tray fit and hold still while it sets, and most of these disappear.
When should I not take an impression myself
Skip it if you have bleeding gums, loose teeth, loose crowns or fillings, or an untreated cavity. See a dentist first, then take your impressions once the mouth is healthy.
Worried about getting a step wrong on the first try, read the most common impression mistakes. Ready to see what the mold becomes, compare a flipper against a partial denture.
Smile Lab USA ships every kit free, builds each appliance in the USA, and backs the work with a 60 day manufacturer warranty.